Back for my second post for today. . .
Scroll down if you are looking for the
Southern Girls 100th Challenge Post.
Welcome to this month's ProjectPea Blog Hop!
Each month the ProjectPea crew is challenged to create fun and creative projects that are sure to inspire you to look at your stamps sets with new eyes.
I thought these stamp sets and dies would be perfect to use for decorating candles. These are 3" x 3" candles I bought from Michaels. Once I got started, I had a hard time stopping. In this process, I discovered you can
heat emboss the tissue paper! The embossing stands up to the heat gun when putting in onto the candle!! Whole new worlds opened up to me!!
 |
| Stamped tissue paper |
Start with a piece of white tissue paper a little smaller than the candle. In this case, I used 2.75" x 9".

 |
| Waiting for the heat gun!! |
When I create a backgrounds stamp like these, I use my Fiskars Compact Stamp Press.
It helps me get the stamps on the block straight and then stamp straight! Once you have the tissue paper stamped or colored, you'll need your heat gun to adhere the tissue to the candle.
Hold your tissue paper taut against the candle and move back and forth with the heat gun. I always start in the middle of the paper with my heat gun and then move to the ends. The candle melts a bit under the heat - that's what keeps your work on the candle. It gets hot at times, so you have to watch your fingers!
 |
| Half of the candle is already on the candle; the other half is next to be heated! |
Let's take a closer look at the specific projects. . .
 |
| The left candle is a vanilla one and the one on the right is white. |
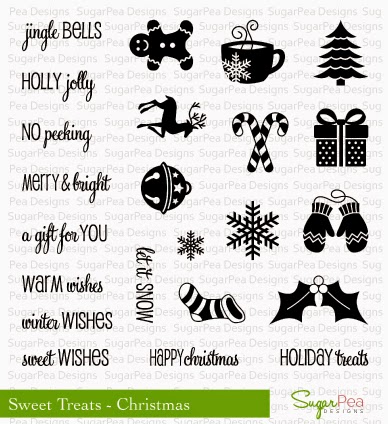
I started with the candle on the left. It's simply stamped using the
Sweet Treats Christmas stamp set and Cherry Cobbler ink. Then I started to wonder about using embossing powder. The candle on the right is heat embossed with Cherry Cobbler embossing powder. The images are more defined on the embossed candle.

The
Lost Without You stamp set gave me new ideas to try. I stamped the shepherd and then embossed him with gold embossing powder. I found if I used my Copics to color him
on the back, the embossing powder didn't ruin my markers!!
 |
| The side I colored on (the back) |
 |
| Colored and shaded |
 |
| The finished colored candle |
 |
| This is the image embossed in gold |
One of my shepherd candles uses gold embossing for the image and the sentiment background. The colored candle has a brown sentiment background. Both candles look wonderful!


And then, I had one more idea! I used the Layered Treat Labels stamp set and the Layered Treat Label Sugar Cuts Dies. How simple is this?!? I just made a sleeve from some corrugated cardboard and used score tape to attach gross grain ribbon and then popped out the tag. It's embellished with a heart from the die set, 2 red rhinestones, and a little ribbon. Bam - you're done and set with an adorable gift ready to give!
Our Blog Hop is a fantastic opportunity for you to WIN a $15 gift certificate to spend on some SugarPea Designs of your own!
Please visit each of our design team members listed below and leave a comment on each blog for your chance to win! Good luck and enjoy the inspiration!

 It's the fifth Saturday of the month, which means you have the chance to go back through the Sketch Saturday archives and choose one for your inspiration this week! I used Sketch #295. It went well with the stamp I used from Santoro called, If Only. Santoro is a UK stamp company; I found the stamp eBay and knew I had to own it!


.png)


